第 32 章
使用 TextEditor 支援多行文字輸入
SwiftUI 的第一個版本(隨 iOS 13 推出)沒有提供用於支援多行文字輸入的文本視圖(Text View)。 如要使用的話,就需要從 UIKit 框架中借用 UITextView ,並通過採用 UIViewRepresentable 協議使其可用於你的 SwiftUI 項目。 自 iOS 14 開始,Apple 為 SwiftUI 框架引入了一個名為TextEditor的新組件。 這個 TextEditor 使開發者能夠在App中顯示和編輯多行文字。 在 iOS 16 中,Apple 進一步改進了內置的 TextField 以支持多行輸入。
在本章中,我們將詳細講解如何使用 TextEditor 以支援多行文字輸入。
如何使用 TextEditor
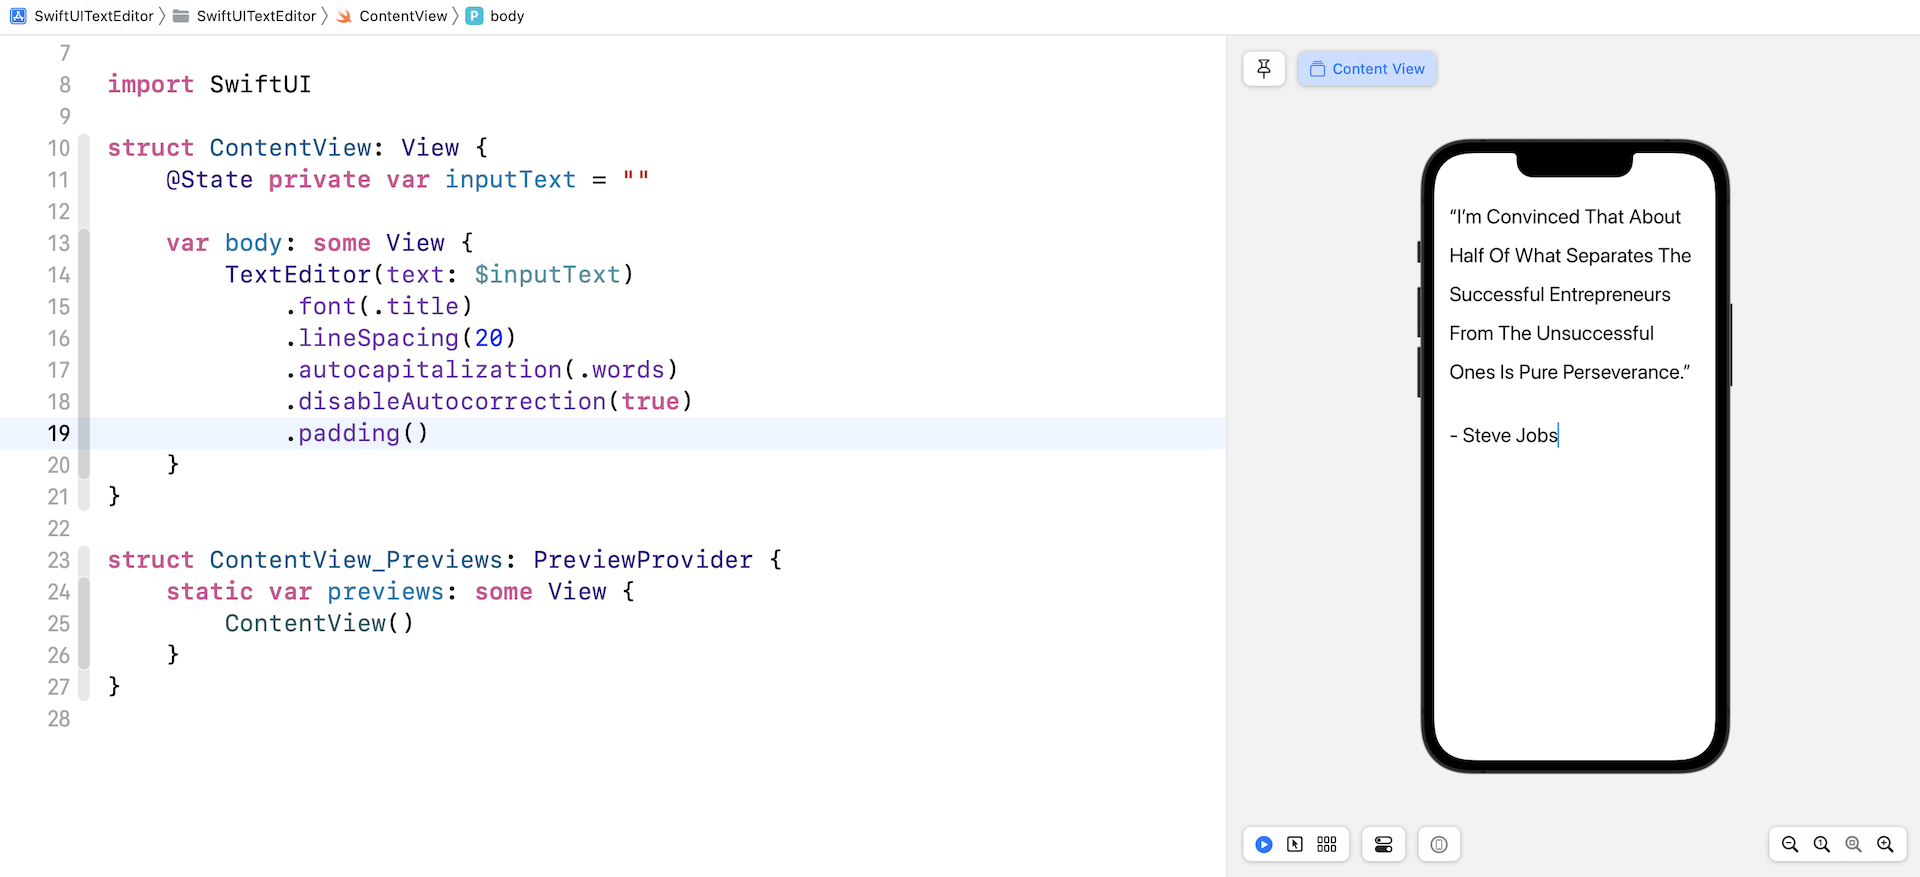
TextEditor 的使用方法並不複雜,可以說是非常容易。 你只需要一個狀態變數來存放輸入文字。 然後,在視圖的body中建立 TextEditor 就可以了。下面是範例程式碼:
struct ContentView: View {
    @State private var inputText = ""

    var body: some View {
        TextEditor(text: $inputText)
    }
}
要使用 TextEditor,你需要傳一個 inputText 的綁定,以便狀態變數可以儲存使用者的文字輸入。
你可以像任何 SwiftUI 視圖一樣客製編輯器的樣式。舉例,以下程式碼可以更改字體類型並調整文本編輯器的行距:
TextEditor(text: $inputText)
    .font(.title)
    .lineSpacing(20)
    .autocapitalization(.words)
    .disableAutocorrection(true)
    .padding()
另外,你也可以選擇啟用/停用自動大寫和自動更正功能。
使用 onChange() 修飾器偵測文字輸入
在 UIKit 框架, UITextView與 UITextViewDelegate 協議共同運作以處理文字輸入。 那麼,TextEditor 呢? 我們如何偵測使用者輸入的文字並對其進一步的處理?
SwiftUI 提供了一個 onChange() 修飾器,可以附加到 TextEditor 或任何其他視圖。 假設你正在使用 TextEditor 建立一個筆記App,並且需要實時顯示總字數。你可以將 onChange() 修飾器附加到 TextEditor,如下所示:
想更深入學習SwiftUI和下載完整程式碼?你可以從 AppCoda網站購買《精通 SwiftUI》完整電子版。