在新版 SwiftUI 中,其中一個我最喜歡的新功能就是 ScrollViewReader。在 iOS 14 推出之前,要控制內置 ScrollView 的滾動位置並不容易。如果想要滾動視圖滾動到特定位置,就需要自己想出解決方案。
有了 ScrollViewReader 之後,我們只需要幾行程式碼,就可以使滾動視圖滾動到特定位置。在這篇教學文章中,我們會探索這個新視圖元件,讓大家了解如何把它應用在 App 上。
創建一個水平的 ScrollView
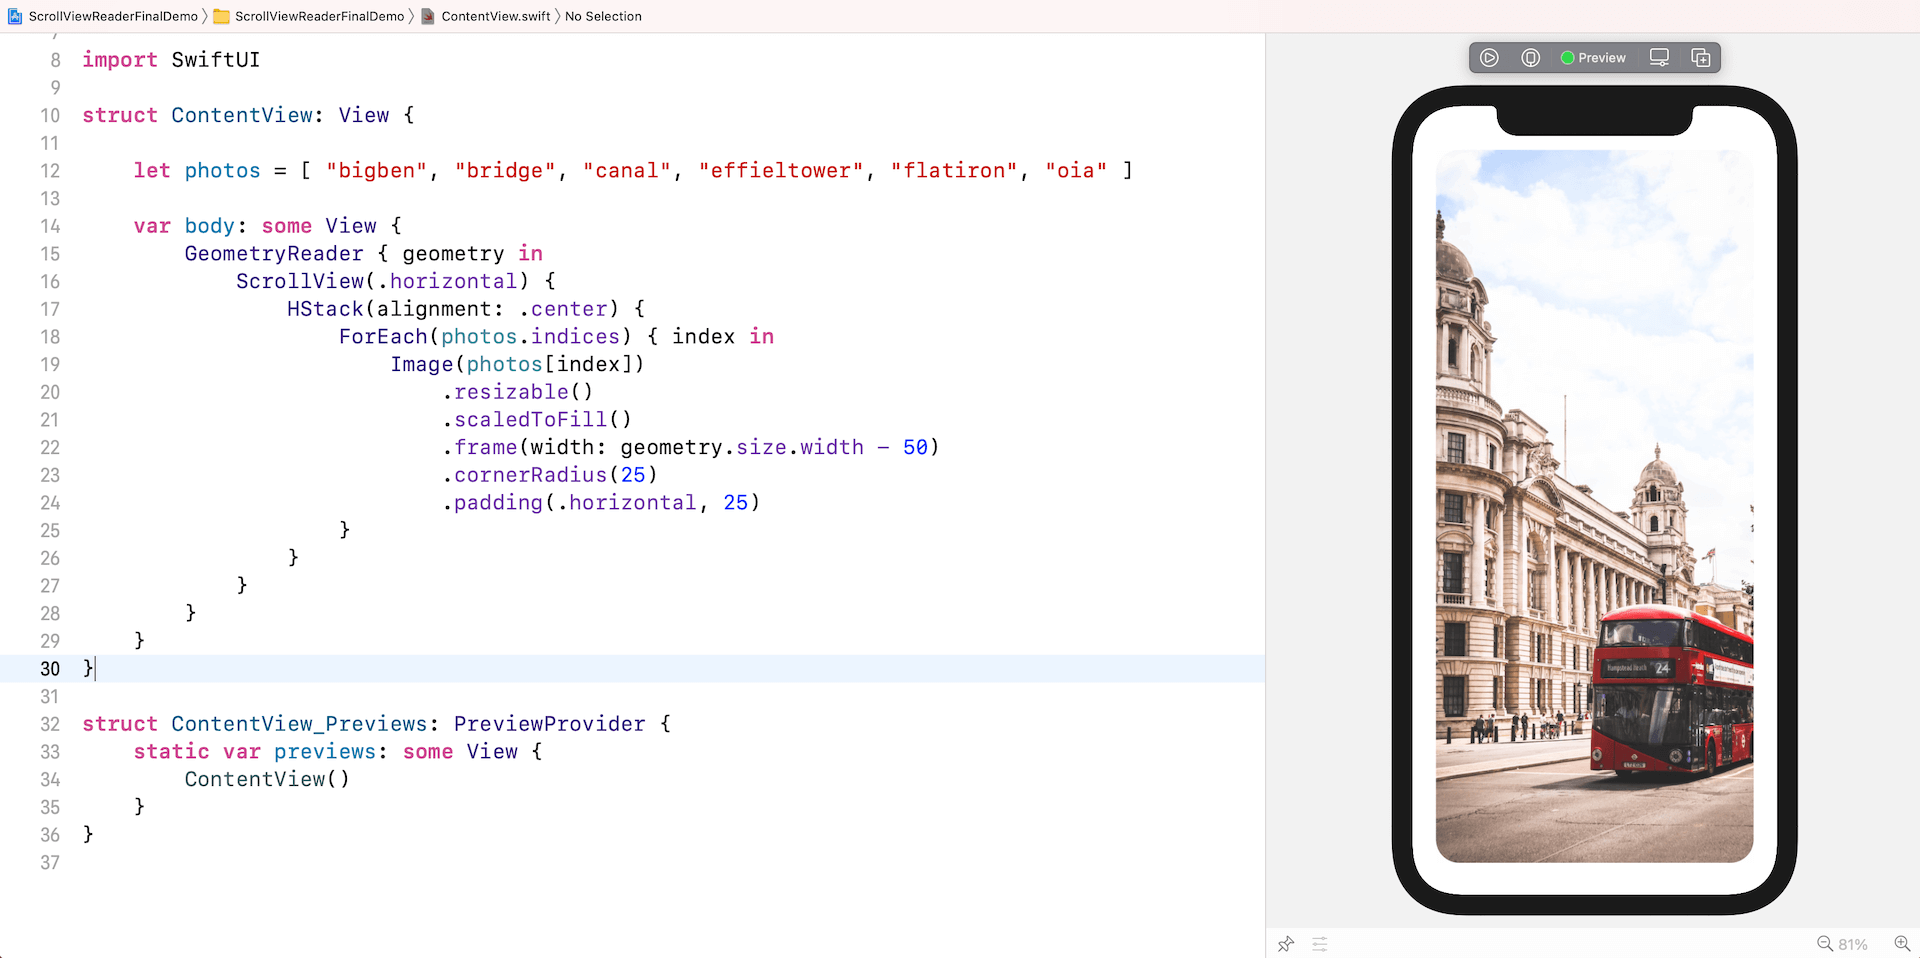
現在,讓我們從一個簡單的範例看看 ScrollViewReader 的用法。先看看以下的程式碼:
struct ContentView: View {

    let photos = [ "bigben", "bridge", "canal", "effieltower", "flatiron", "oia" ]

    var body: some View {
        GeometryReader { geometry in
            ScrollView(.horizontal) {
                HStack(alignment: .center) {
                    ForEach(photos.indices) { index in
                        Image(photos[index])
                            .resizable()
                            .scaledToFill()
                            .frame(width: geometry.size.width - 50)
                            .cornerRadius(25)
                            .padding(.horizontal, 25)
                    }
                }
            }
        }
    }
}
我們建立了一個水平滾動視圖,來顯示一組照片。如果你在模擬器或預覽面板中執行程式碼,就可以水平滑動以滾動瀏覽照片。

如果我們現在想添加一些按鈕,讓使用者瀏覽不同的照片,應該怎樣做呢?或者這樣說,我們如何讓滾動視圖滾動到特定圖像?

使用 ScrollViewReader
ScrollViewReader 就是上面問題的解決方法!這個新視圖元件的用法非常簡單。首先,給滾動視圖中的每個元素一個獨特的 ID。在這個範例中,我們可以將 .id 修飾符加到 Image 視圖,並將其數值設置為照片的索引 (index):
Image(photos[index])
    .resizable()
    .scaledToFill()
    .frame(width: geometry.size.width - 50)
    .cornerRadius(25)
    .padding(.horizontal, 25)
    .id(index)
接下來,讓我們利用 ScrollViewReader 包裝滾動視圖。ScrollViewReader 的內容視圖建構器接收 ScrollViewProxy 實例:
GeometryReader { geometry in
    VStack {
        ScrollViewReader { scrollView in
            ScrollView(.horizontal) {
                HStack(alignment: .center) {
                    ForEach(photos.indices) { index in
                        Image(photos[index])
                            .resizable()
                            .scaledToFill()
                            .frame(width: geometry.size.width - 50)
                            .cornerRadius(25)
                            .padding(.horizontal, 25)
                            .id(index)
                    }
                }
            }

            // Navigation Buttons
            HStack {
                // To be complete
            }
            .frame(height: 70)
        }
    }
}
在我們得到 Proxy 後,可以呼叫 scrollTo 函式,以滾動到特定索引。以下面這行程式碼為例,我們要求滾動視圖滾動到最後一張照片:
scrollView.scrollTo(photos.count - 1)最後,我們可以聲明一個狀態變數 (state variable),來追踪當前的照片索引:
@State private var currentIndex = 0然後,你可以這樣在 HStack 中編寫程式碼:
HStack {
    Button(action: {
        withAnimation {
            scrollView.scrollTo(0)
        }
    }) {
        Image(systemName: "backward.end.fill")
            .font(.system(size: 50))
            .foregroundColor(.black)
    }

    Button(action: {
        withAnimation {
            currentIndex = (currentIndex == 0) ? currentIndex : currentIndex - 1
            scrollView.scrollTo(currentIndex)
        }
    }) {
        Image(systemName: "arrowtriangle.backward.circle")
            .font(.system(size: 50))
            .foregroundColor(.black)
    }

    Button(action: {
        withAnimation {
            currentIndex = (currentIndex == photos.count - 1) ? currentIndex : currentIndex + 1
            scrollView.scrollTo(currentIndex)
        }
    }) {
        Image(systemName: "arrowtriangle.forward.circle")
            .font(.system(size: 50))
            .foregroundColor(.black)
    }

    Button(action: {
        withAnimation {
            scrollView.scrollTo(photos.count - 1)
        }
    }) {
        Image(systemName: "forward.end.fill")
            .font(.system(size: 50))
            .foregroundColor(.black)
    }
}
.frame(height: 70)
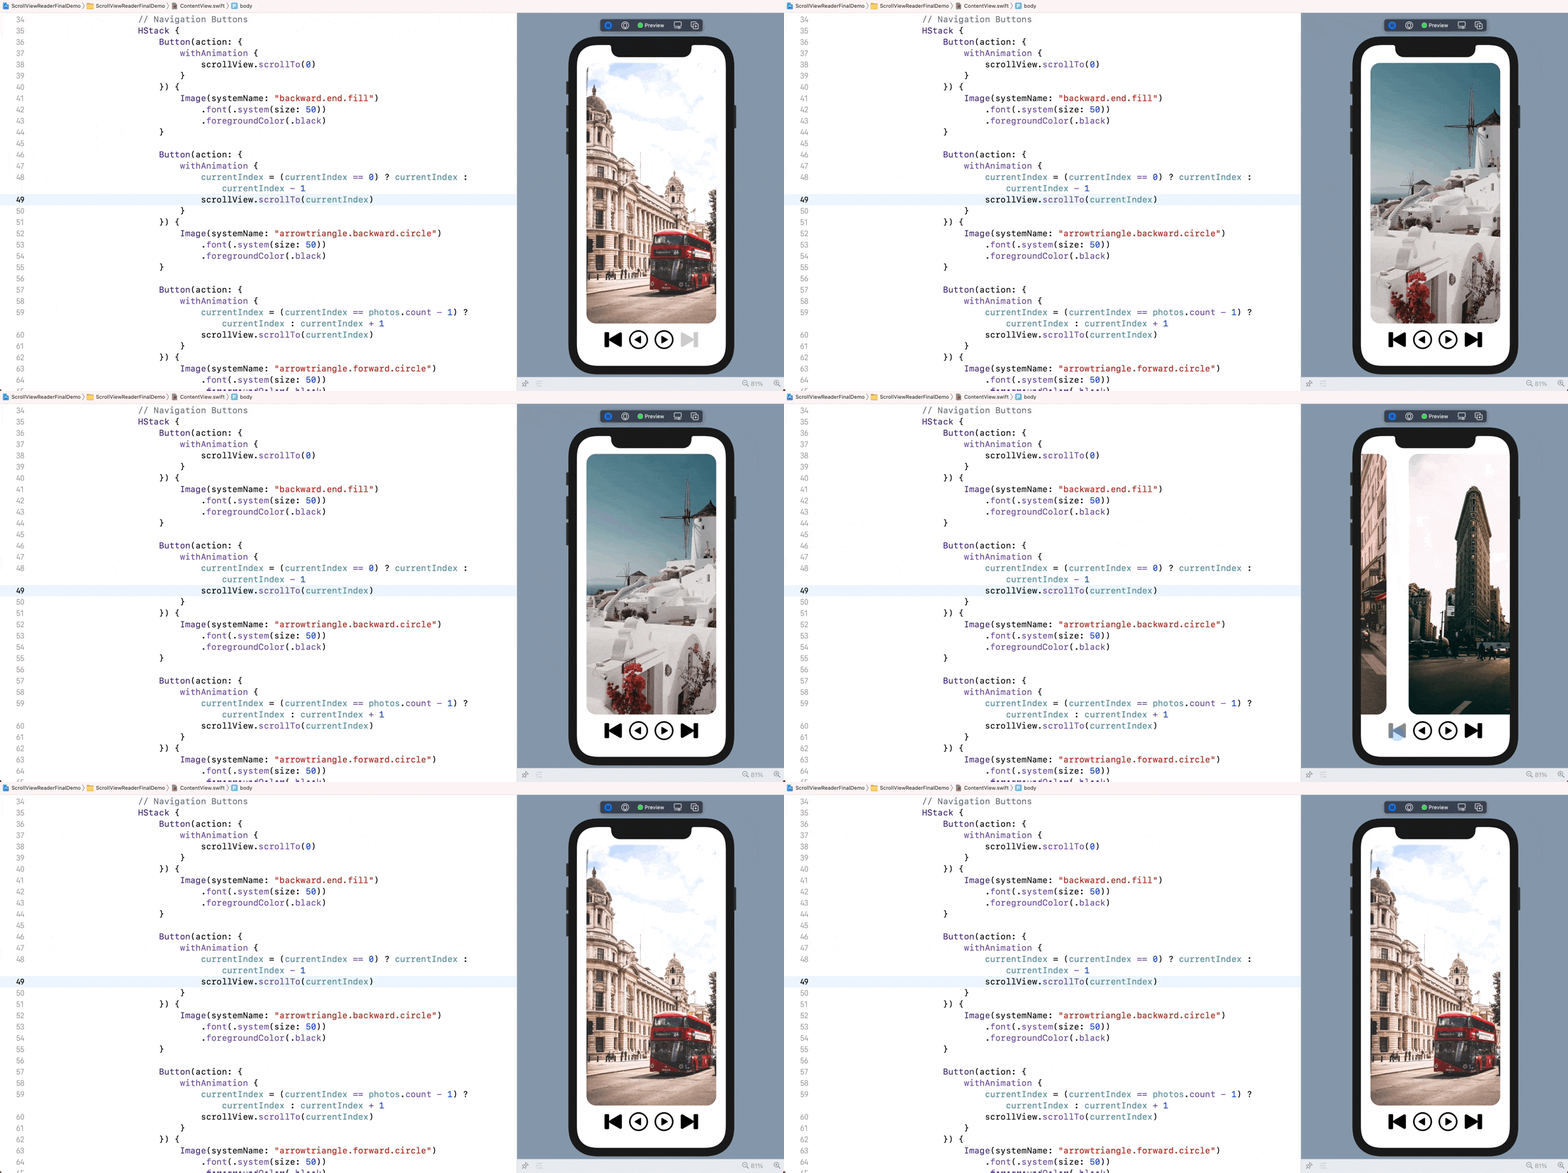
對於每個按鈕,我們都會呼叫 scrollTo 函式來滾動到特定的照片。利用 withAnimation 包裝程式碼後,App 會呈現一個漂亮的滾動動畫。

在 List 上應用
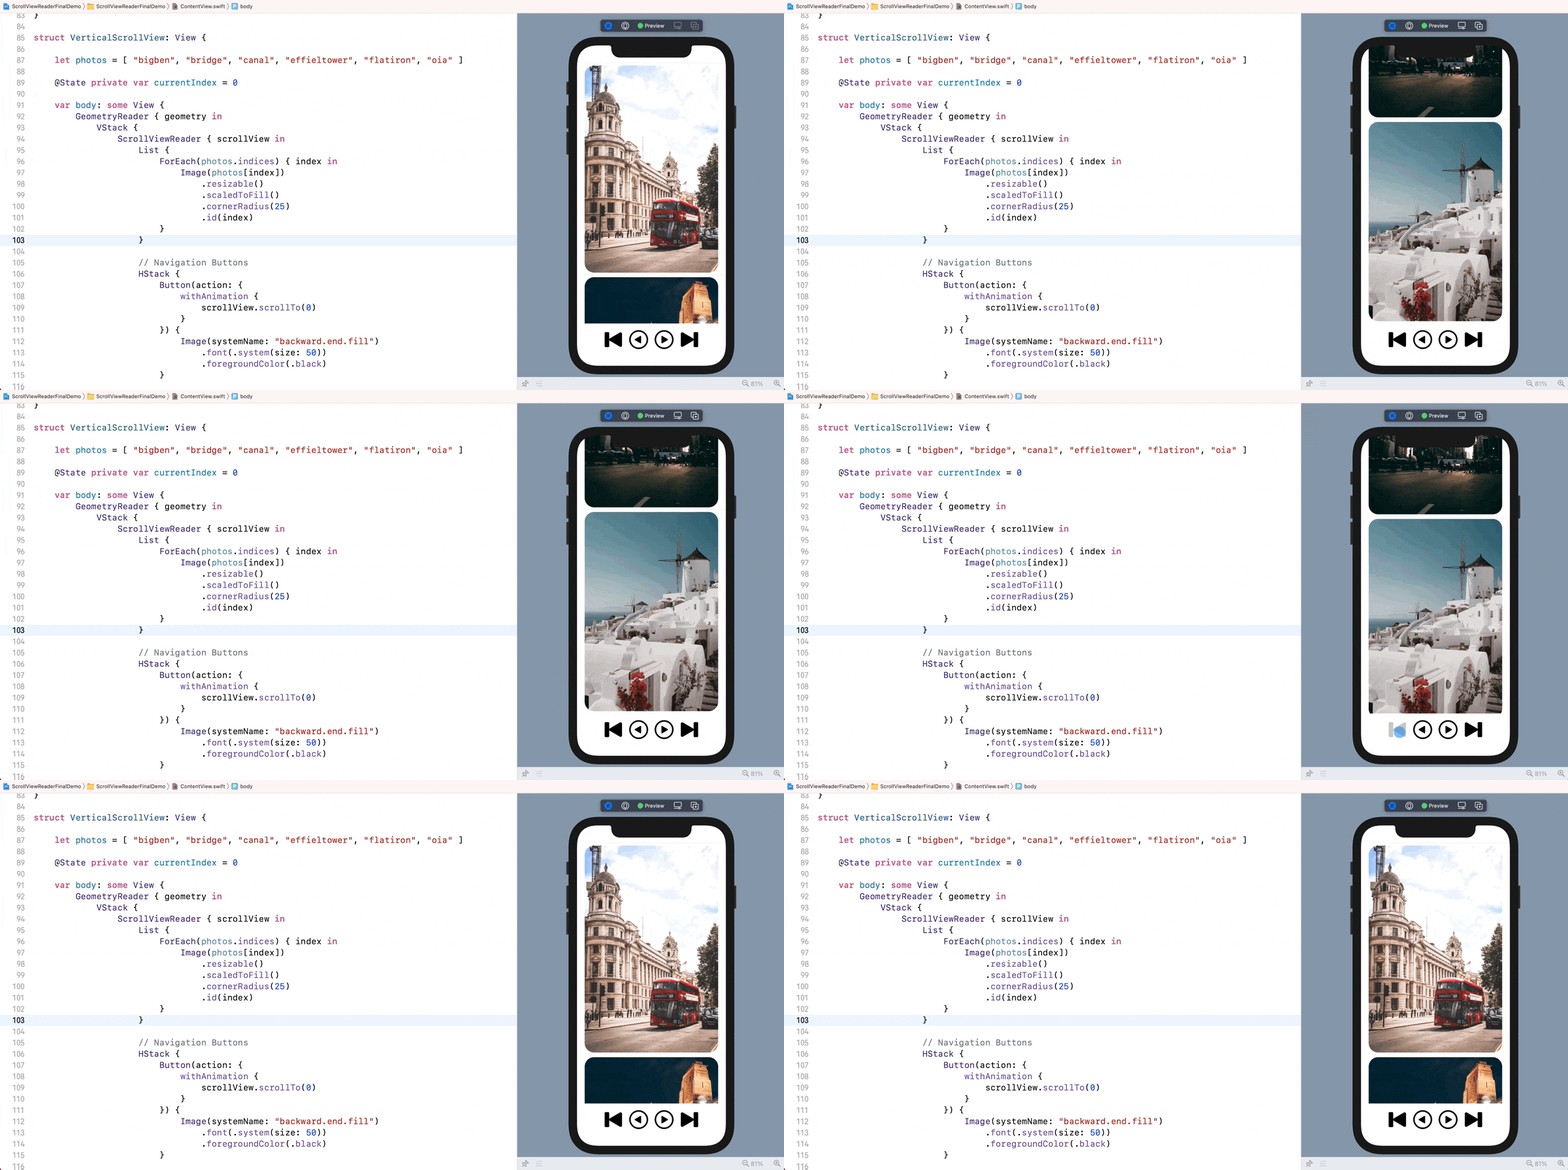
ScrollViewReader 不僅可以用來包裝 ScrollView,在 List 上也可以應用。假設我們把 App 轉換為列表形式,而不是水平滾動視圖:
ScrollViewReader { scrollView in
    List {
        ForEach(photos.indices) { index in
            Image(photos[index])
                .resizable()
                .scaledToFill()
                .cornerRadius(25)
                .id(index)
        }
    }

    .
    .
    .
}
我們還是可以應用 scrollTo 函式,要求列表滾動到特定元素。

總結
ScrollViewReader 是 SwiftUI 框架中很好的新增功能。現在我們不再需要開發自己的解決方案,就可以輕鬆地指示任何滾動視圖滾動到特定位置。希望你喜歡這篇教學文章,並看到這個新元件的用處。如果想更深入學習 SwiftUI 框架,並了解其他技巧,可以閱讀我們《精通 SwiftUI》一書。
原文:How to Use ScrollViewReader to Perform Programmatic Scrolling


